
My husband and I are in our third year of making maple syrup from bigleaf maples in the central Coast Range of western Oregon and we enjoy doing so. [And here’s a webinar I gave on why maple trees put sugar in their sap, and on how we make the syrup.]
Surprising fact: Indeed, one can make syrup from the native maples on the west coast. In fact, one can make syrup from any species of maple or walnut, given the right weather, but the process is not necessarily economical (especially if you include all the true costs of the resources used).
Another surprising fact: The sap is located in the same wood cells of a tree in winter (when we get sap) and summer (when the plant uses sap in photosynthesis), but the processes of sap movement, and even the direction the sap moves is different in the two seasons. Even though I’ve spent my career at a university as a tree ecophysiologist studying the pathways and processes of water transport pathways in trees, until two years ago, I knew nothing of the winter sap movement. And when I presented the current theory at a meeting of a couple hundred colleagues last summer, I learned that almost none of my colleagues knew the fascinating story, either.
Please check out my post on why maple plants put sugar in their sap in the winter.
The Steps to Making Syrup
1. Round up materials; start in the fall.
You need the following:
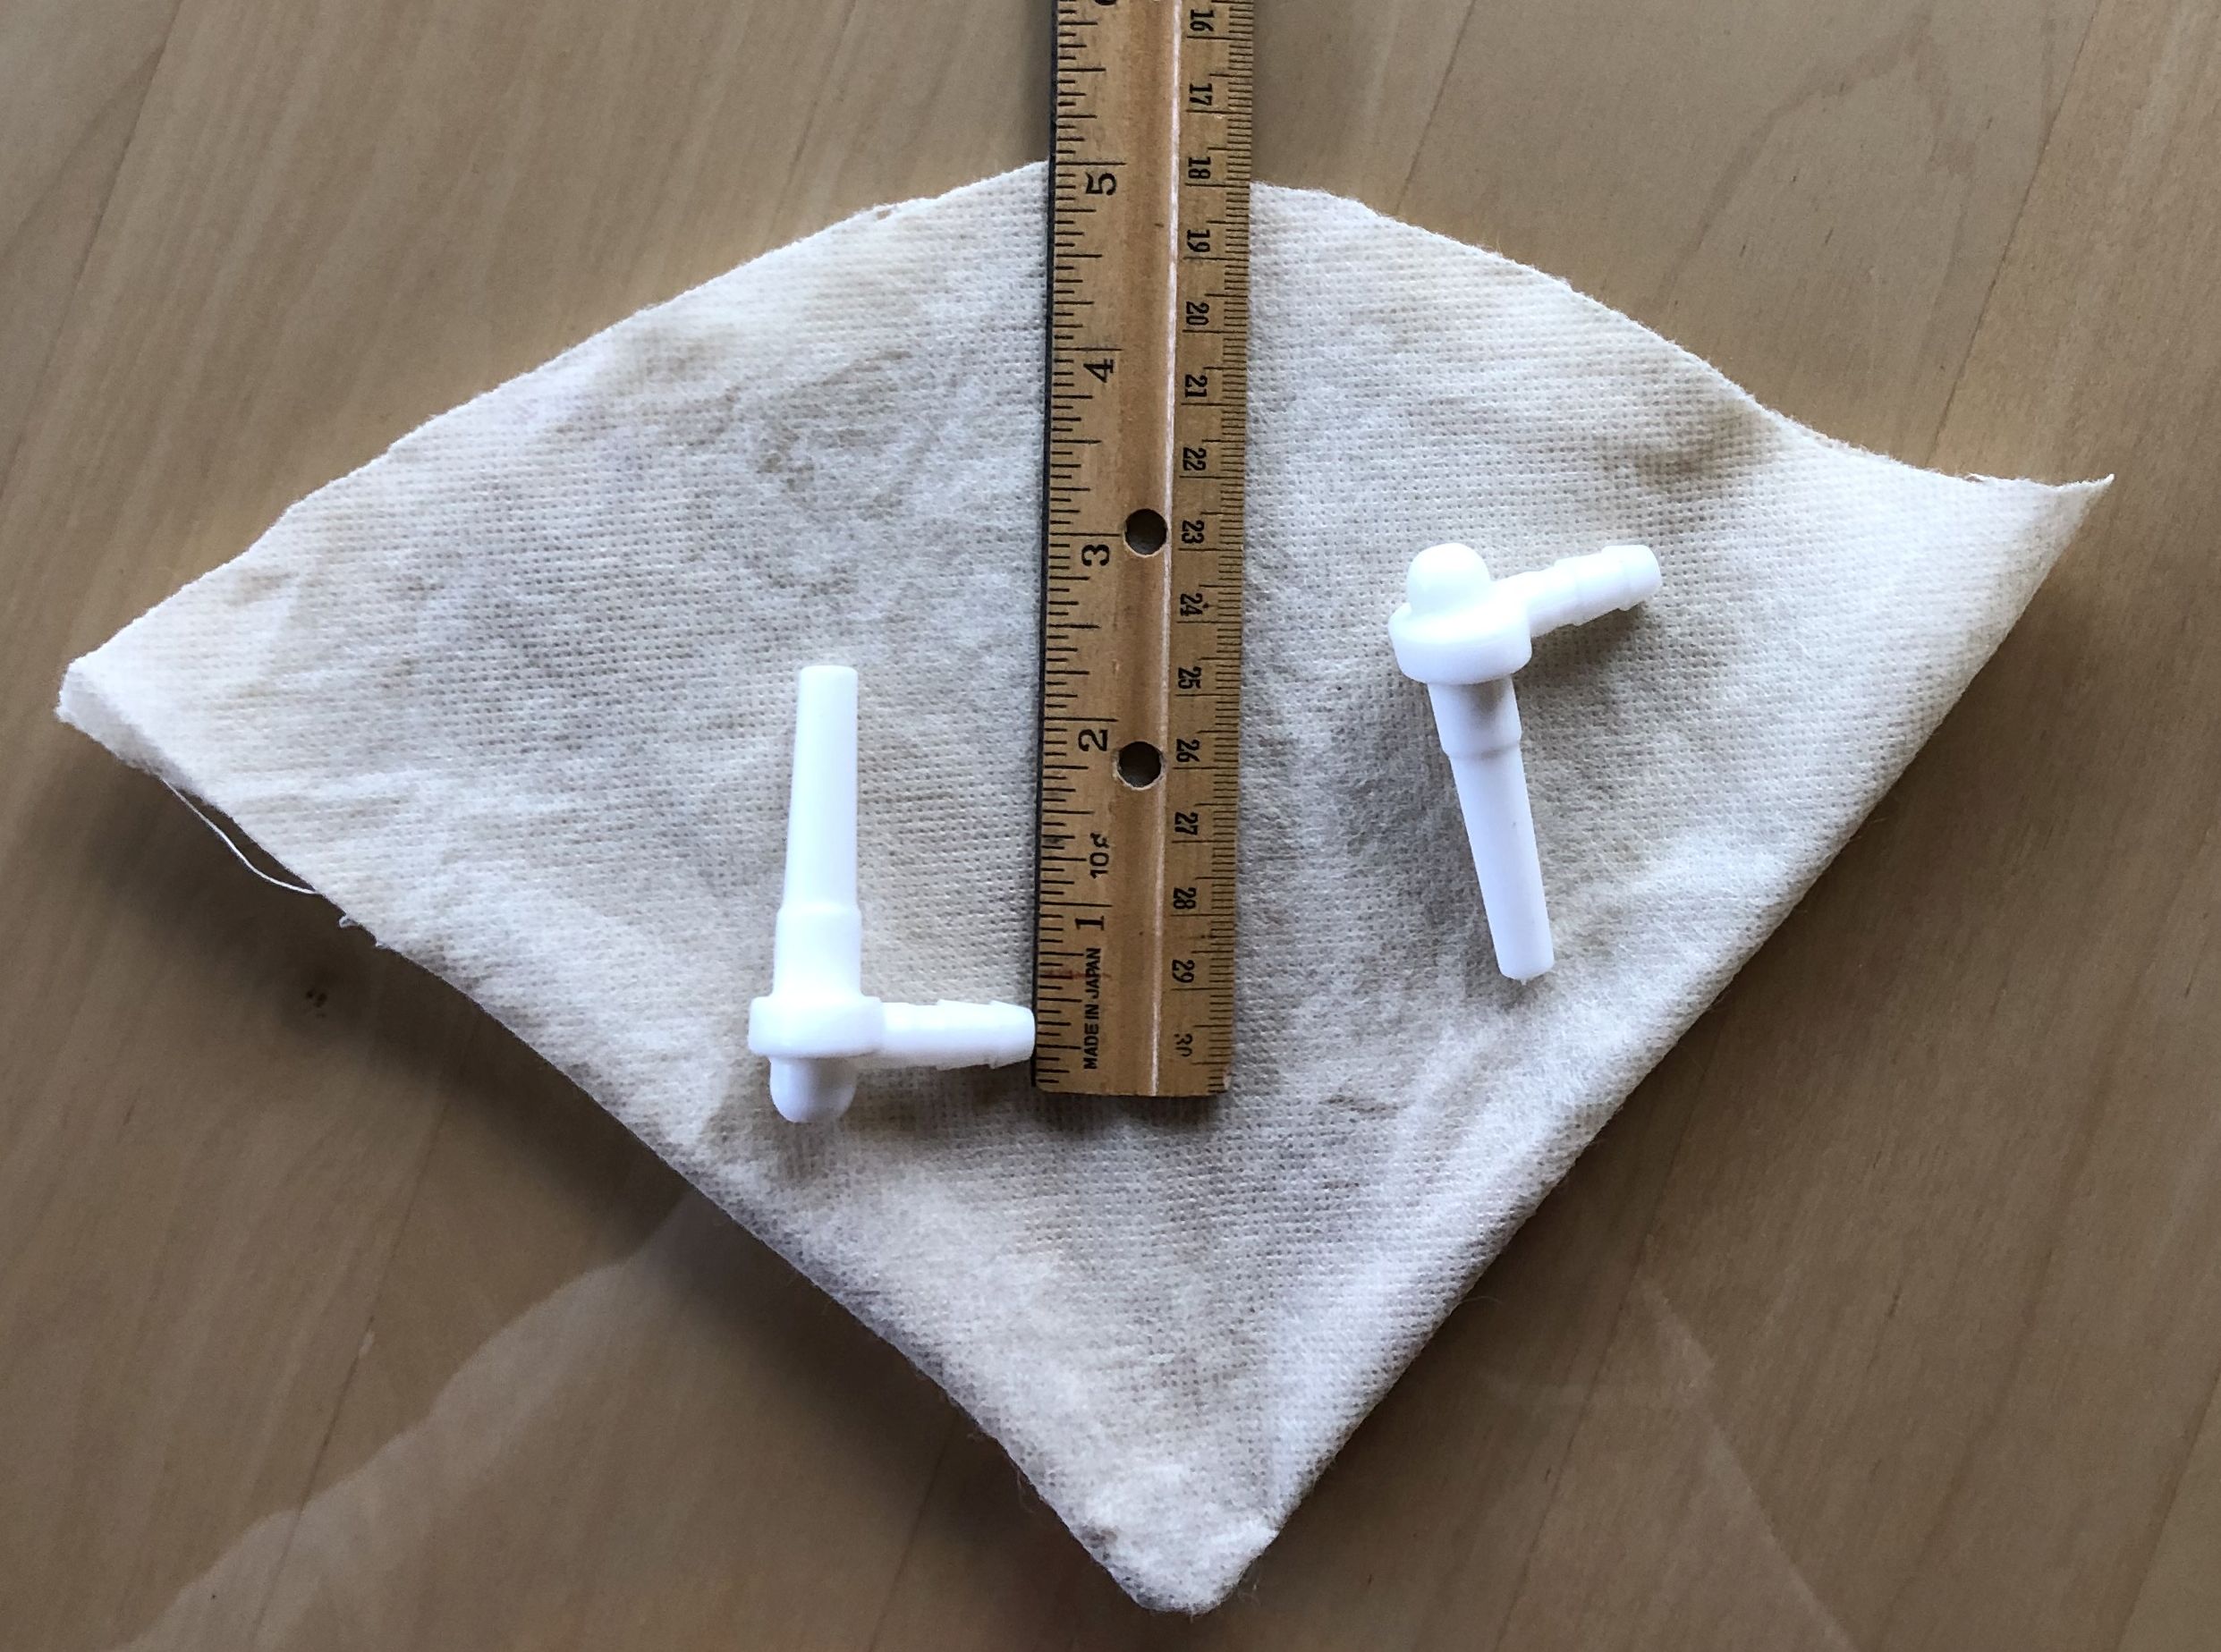
- Spiles (spouts) that can be as simple as a piece of straw or hollowed-out elderberry stems, or purchased ones. The plastic ones are a lot less expensive than the metal ones and are working well for us. Ours are from one of the many online maple syrup supply businesses in New England.
- Food-grade tubing (unless you collect in buckets, but buckets also collect more larvae, flies, moss, lichen … ) and a spile remover, which isn’t essential but helps. These items were from the same place as the spiles. You can also order pretty bottles if you really think you’ll have enough to give away (or sell).
- Something to collect sap in, and also to transport it home to process. This year we bought twenty-four 2.5-gallon plastic jugs from Uline. Previous years we used milk and juice jugs and five-gallon carboys (jerry cans). You could also use buckets. We bought extra lids. Our idea was to have twelve jugs out and exchange them clean ones each time we went out.
- A cordless drill and two drill bits, a wood bit that is about the outer diameter of your tubing, and one a little larger to drill holes in the lids of the jugs.
- A funnel (ours is automotive) and something to filter with (tee-shirt material or the corner of a re-usable grocery bag have worked for us; others buy milk filters).
- A stove, pans to evaporate in, something to skim foam off (we have settled on the stainless steel screen used on sprouting jars, but slotted spoons work), plastic milk jugs to freeze partially-processed syrup in, a freezer, a thermometer that is sensitive around 210-225 degrees, and canning jars.

2. Select the trees; start in the fall.
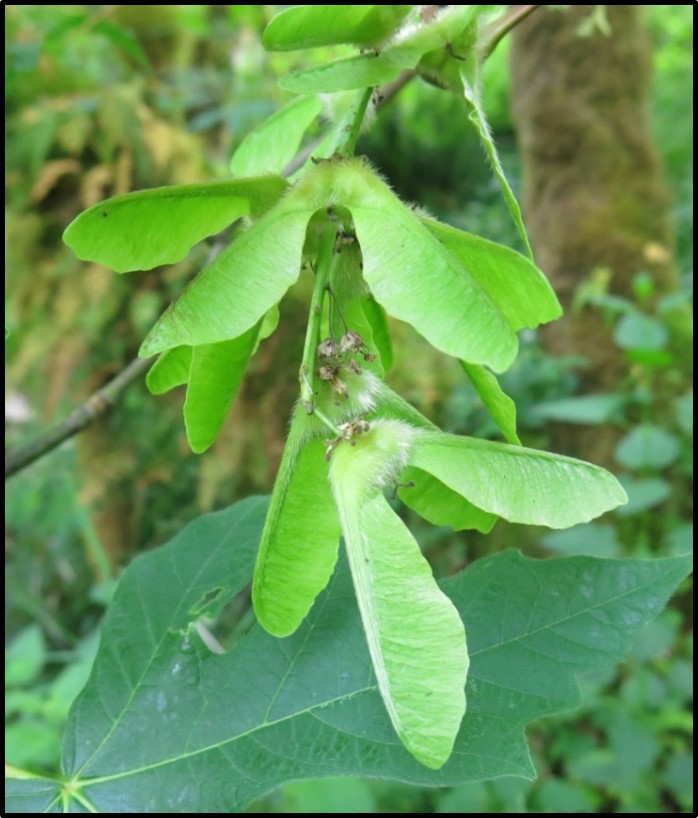
Figure out how to identify maples (opposite leaves and branches, large buds, 2-seeded helicopter seeds—samaras—dangling off some branches, and characteristic leaf and bark type).
Choose trees for all of the following:

- Exposure: for frequent freeze/thaw cycles and slow freezes.
- Health: to avoid microbes, flies, and larvae going directly into your buckets–avoid trees with conks or large areas of polka dots on the lower bark from sapsuckers.
- Proximity to soil water: in our experience, best to be close to creeks or pools.
- Size: possibly best with diameters at breast height of 16-22 inches, decreasing at smaller and larger diameters, but there is a huge variation.
Aim toward the middle of the tree and angle slightly upward.
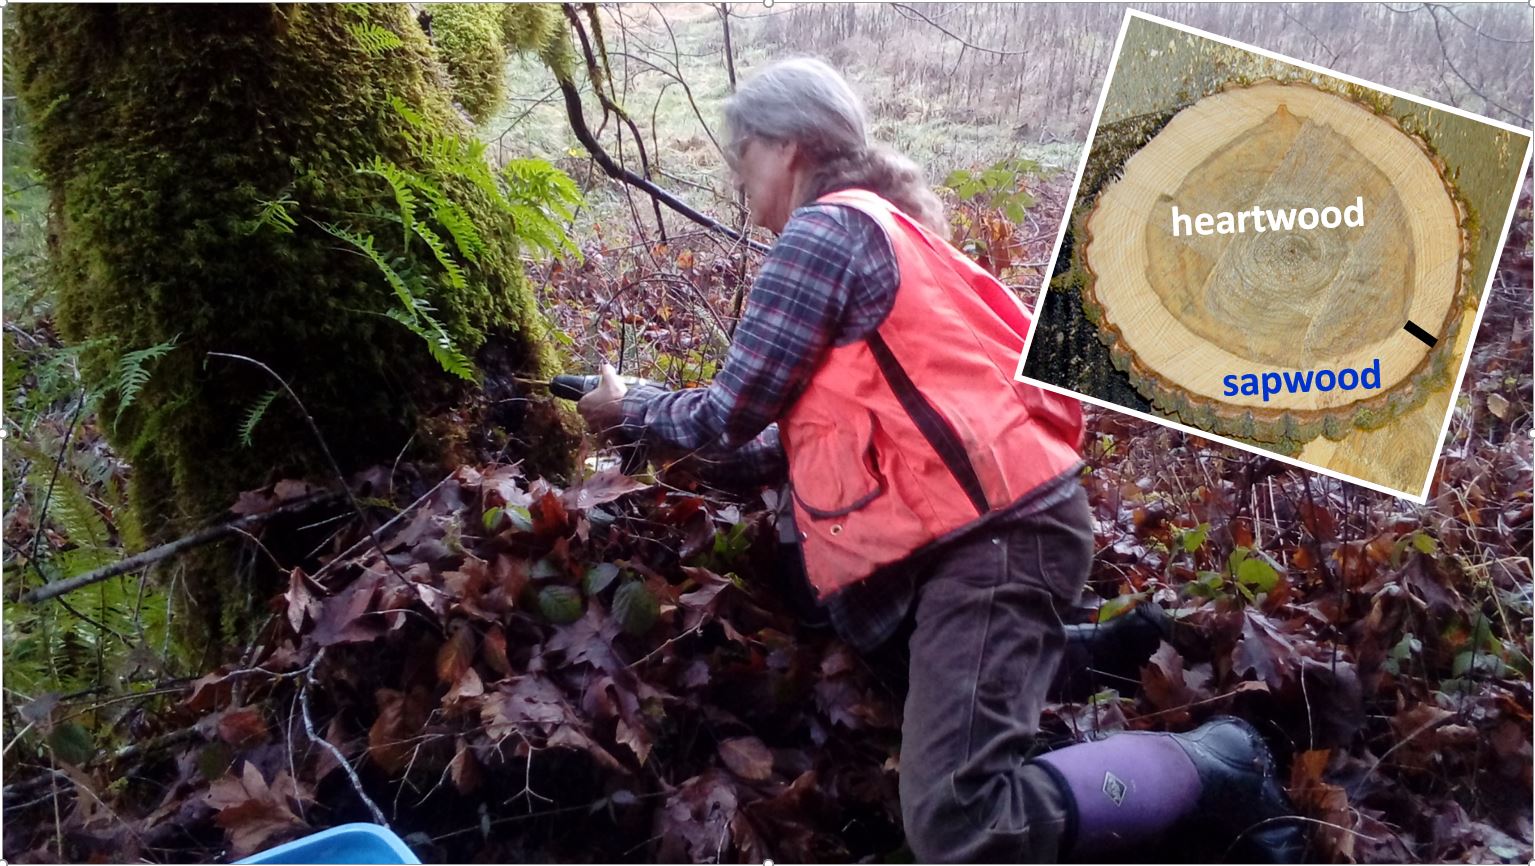
3. Drill and install; at the earliest, a few days after the first freeze (in our parts, probably December through February)
Within a few feet of the base of the tree, drill a hole slightly upward that is 2 to 2.5 inches deep. Use the drill to pull the sawdust out as you go, so the hole is clean.
Use the larger drill bit to drill a hole that your tubing will fit in in the jug lids.
Shove a clean spile into the hole. Tap it in with a mallet if necessary. Place your receptacle (jug, probably) downhill of the hole in a spot where the jug won’t tip over. Cut a length of tubing and then connect the spile and jug with it, making sure the tube doesn’t loop uphill.
4. Collect at least every three or four days (otherwise it may get microbial growth)
This year our best trees give two gallons or so twice a week in good conditions (after a freeze and a thaw), but really good trees can give two or three times that. These days we swap jugs. We use a garden cart to haul the jugs, but even that is pretty hard.
Filter the liquid before the next step to remove needles and other debris.
If sap production slows down or if a tree is a poor producer, go back to Steps 2 and 3. Experiment with tree choices and materials to figure out what is working. The patterns don’t seem to follow rules that we understand. We have had huge differences in adjacent trees or the same tree in different years. Sometimes 6-inch diameter trees give a lot, other times the big trees do. Some trees have early flow, others late, others all season if you keep re-drilling when flow declines.
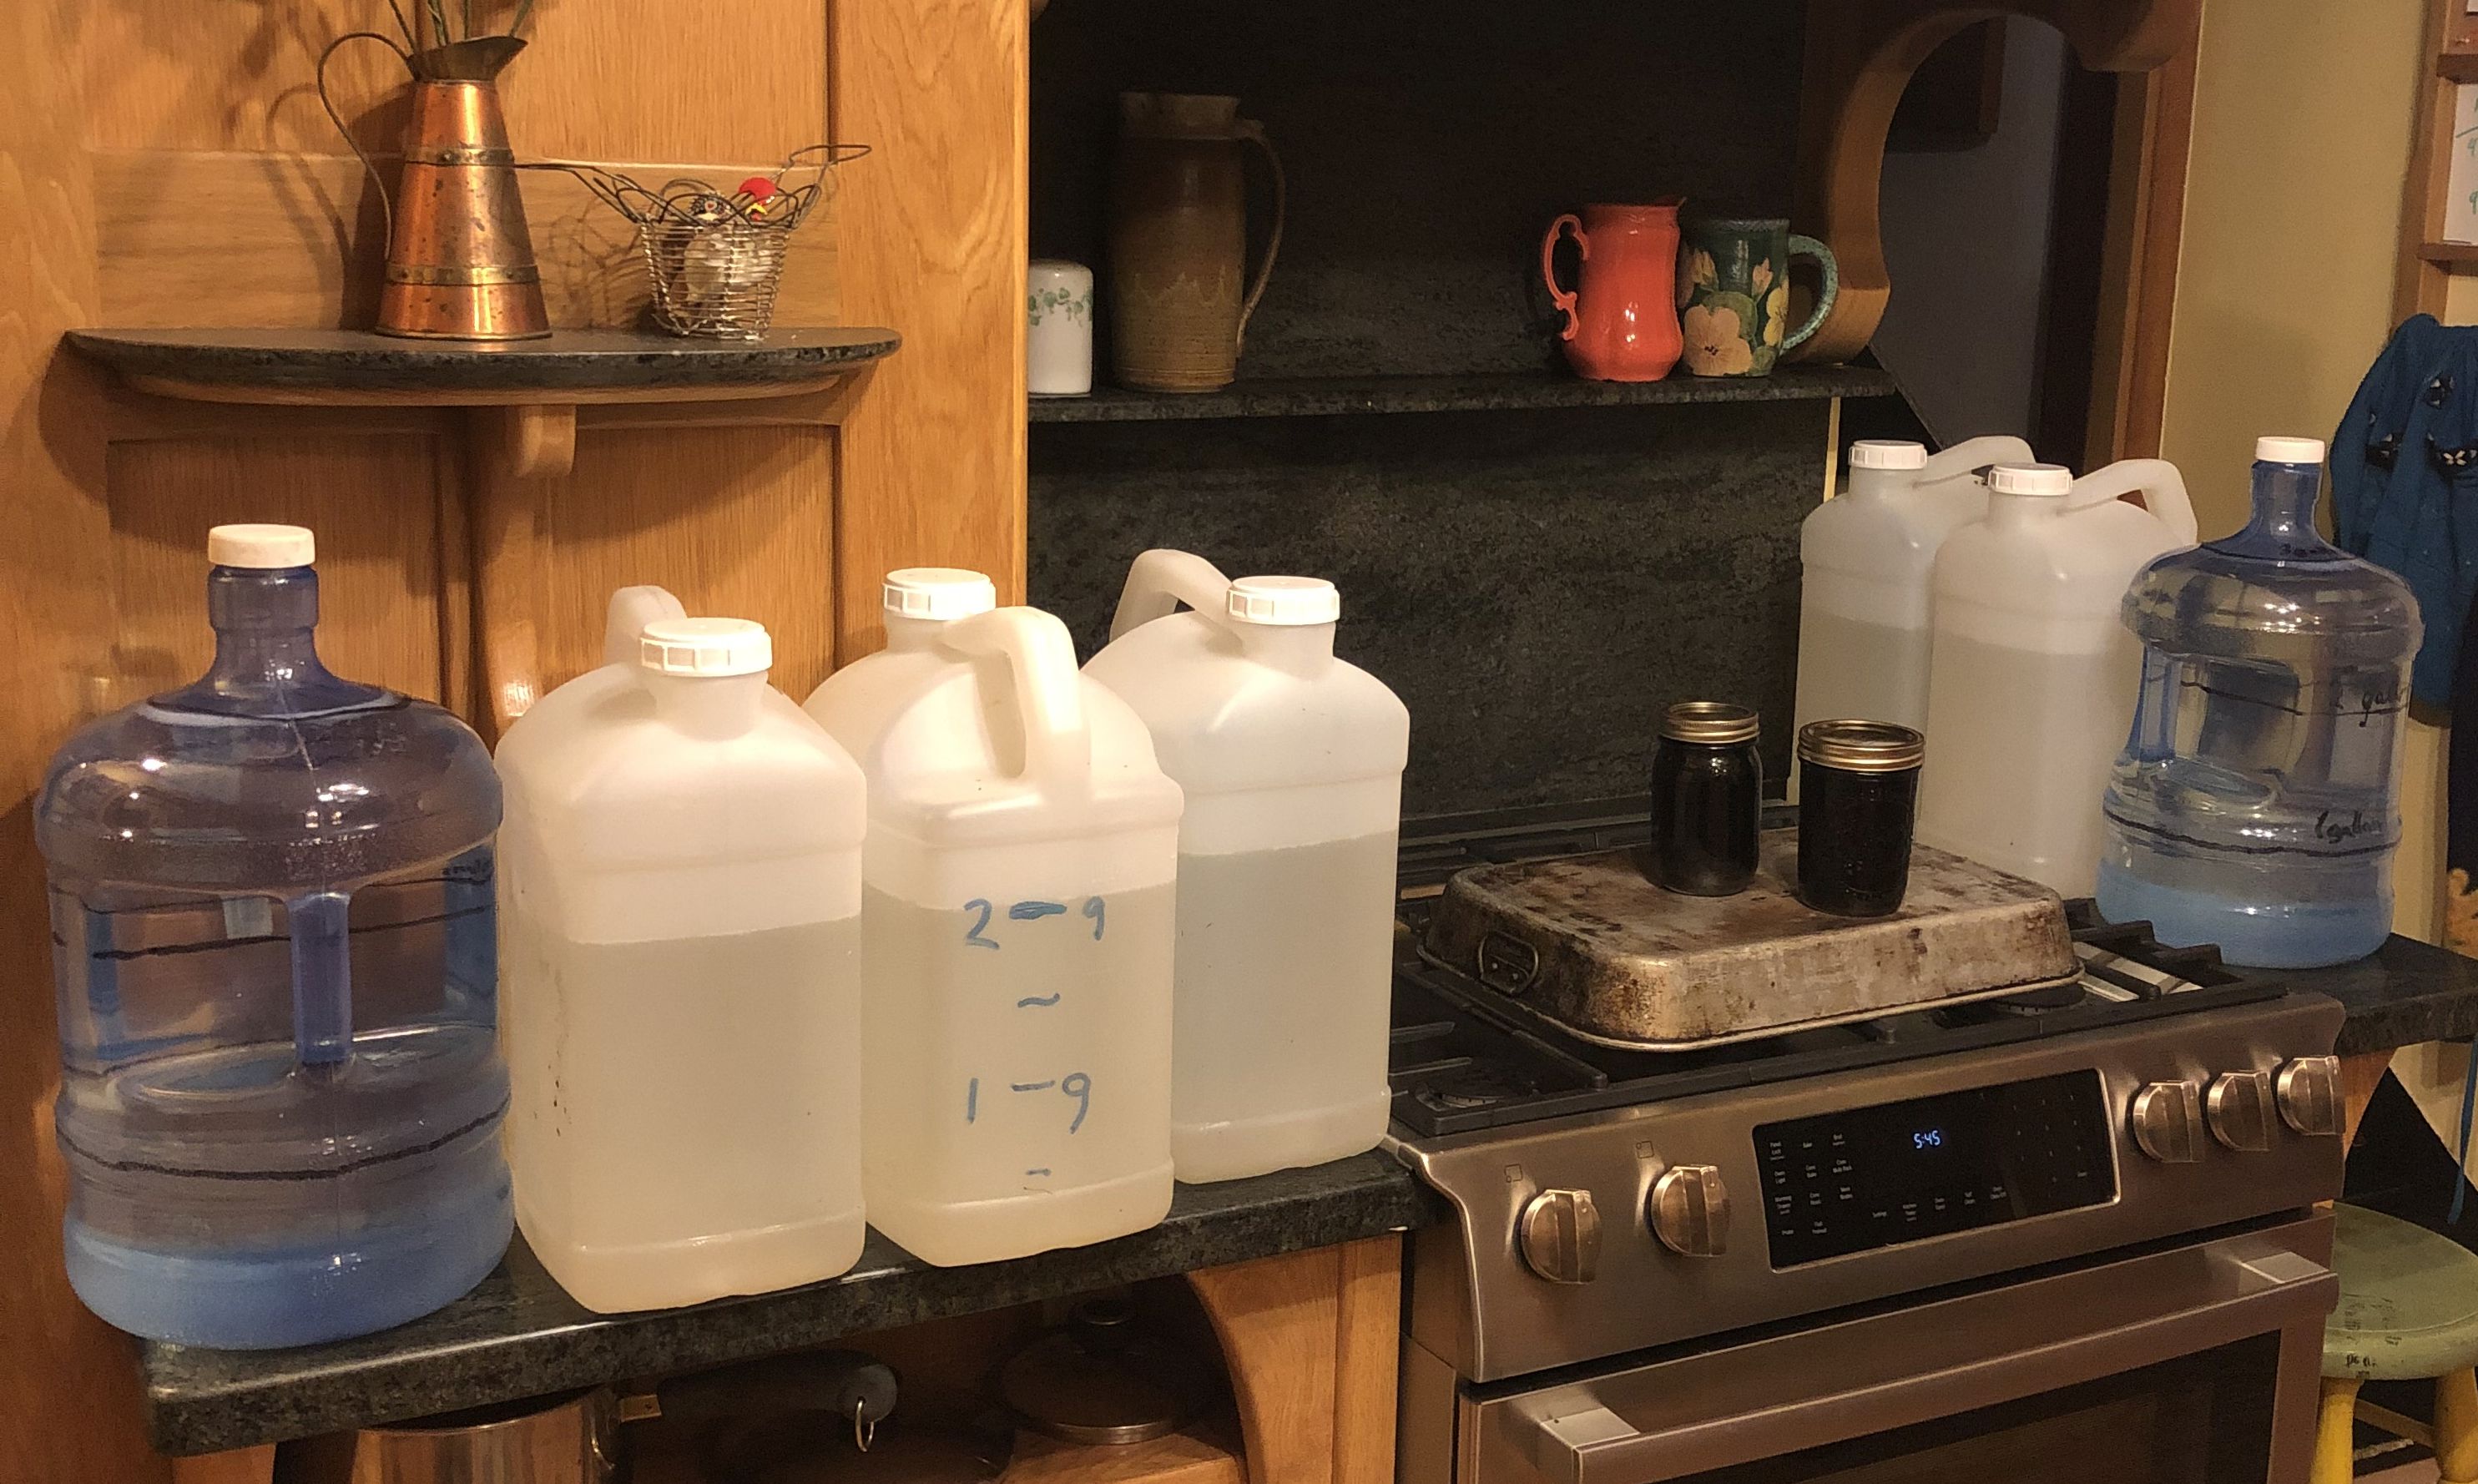
5. Reduce the sap volume and then store it
Boil it down! We record the volume of sap we brought in, which gives us a rough estimate of the volume of syrup when we are done: 1/60th. That’s right—if you have 60 quarts (that’s 15 gallons), you will get about 1 quart of syrup.
That’s the rub.
You will boil and boil (with the ventilator on if you have one), adding more sap as the level in your pan goes down. Skim the foam off while the sap boils to speed up evaporation and eliminate some of the grit you produce through boiling.
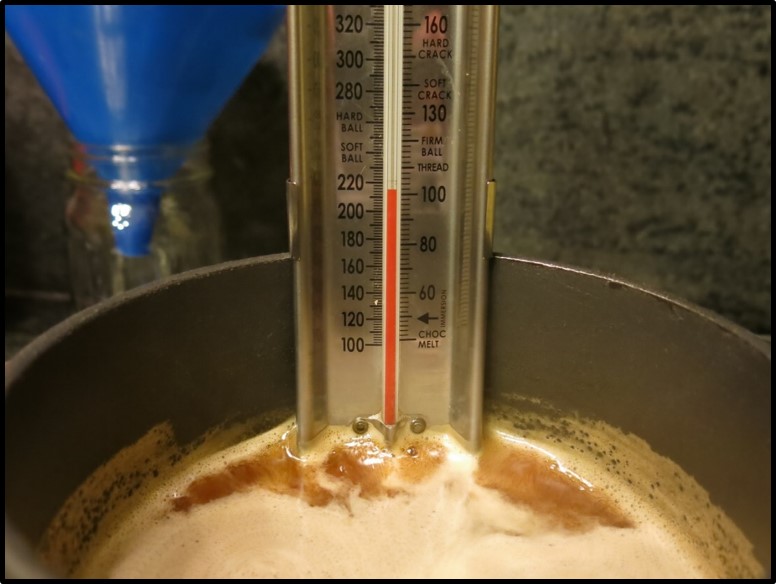
When the temperature reaches 219 degrees (or 7 degrees over what your thermometer registers when you boil water), the syrup is done. But to measure that temperature accurately, the liquid has to be deep enough to immerse your thermometer. That is why we boil the sap down to about 20% of the volume we started with, and then hold the partially-reduced sap in the freezer until we have enough to “finish” (Step 6).
Filter the liquid again before you freeze it. If you have much to freeze, add only a few inches at a time to avoid breaking the jug with the ice expansion.
the syrup is ready.
6. Combine stored materials and finish
Boil to 219 degrees F.
Have clean, hot canning jars ready, and filter right into them. Put the lids on, and let them cool. Even with the filtering, gritty material will settle out over the next days and months. You can pour the clear syrup off the top into new containers, or not worry about it. The jars can be stored without refrigeration.
8. Enjoy.
- Feel smug. And don’t think too much about the extra energy you spent driving to collect sap, the energy for transportation and production of your supplies, or the natural gas or electricity you used to boil the sap down. At least not too much.
- Think about the pleasure of your winter drives with the changing light, your strolls through leaf litter and frost, and your heightened interest in the weather. Ponder the bald eagles above you, the bobcat that left those tracks, and the salmon spawning somewhere nearby. Your fingers are cold. The loads are heavy. You are working for something you consume. (You could be splitting firewood, right? Syrup tastes better than firewood.)
- Bask in the satisfaction of reducing great volumes of clear sap to a dark viscous concentrate.
- Wake a few times a week to the sweet aroma of the previous night’s boil.
- Savor the ice cream, pancakes, and vegetables that are enhanced by your syrup. Our syrup is a twitch tangy.
- And allow yourself credit for making a consumable substance from a part of that square mile that you and 89 others inhabit.
End of diatribe: And yes, we need to act on what we know, not just hope that the consumption deficit will improve. But no individual can shoulder the entire burden of changing our culture. Change it a little.
Do you knit? Ride your bike? Choose a local vacation this year? Send a check to an effective organization? Teach and model “doing” in your daily life?
Stay effective at what you do. Stay joyous.
You know what you can do. Do it. At least some of it. And in the bigger picture, make some allowances. Grab some joy.
Make syrup. Or your equivalent.

More resources on making syrup:
My website section on projects at the cabin, which also has links to the Bruce thesis, the Extension circular, and the Facebook group.
Bruce D (2003) Production and quality of sap from the bigleaf maple (Acer macrophyllum March) on Vancouver Island, British Columbia. MS thesis in Geography, University of Victoria, 102 pp.
Berger C, Fegel T (March 2017) Nontimber Forest Products for Small Woodland Owners: Bigleaf Maple Syrup, Oregon State University Extension Flier, https://catalog.extension.oregonstate.edu/em9163/html
Backlund G, Backlund K (2012) Bigleaf Sugaring: Tapping the Western Maple. Backwoods Forest Management, Ladysmith, BC. 96 pp.
Facebook group: Bigleaf Maple Tapping in the Pacific Northwest
Corvallis Gazette-Times article about us and our maple-tapping: Maple Syrup.
Lachenbruch B (2019) Why Do Maples put Sugar in the Sap in Winter? Blog.

Dear Barb, Fun to read about your NW syrup gathering from the heart of syrup in NE!
I mean, I’ve not had a chance to read ever word yet (I’ll get there), but it does sound fun.
I do mourn the old-fashioned method of tapping trees, mainly because of the esthetics. One used to come across a collection of buckets, one to a tree, and depending on the temperature, listen to the drips pinging into the metal buckets at rate prop. to the temp.
Now, there are tangles of some sort of hydrocarbon-based? tubing spider-webbing among the trees in a maple grove. You can’t walk or ski among the trees anymore, and the drips glide silently to the gathering point.
It’s still cool that we get syrup. Wonder who figured that out… Love your posts, Flora
LikeLike